Homemade Adventures: Whole Wheat Bread
We have started some new adventures at our house: making more food from scratch. I blame Joshua. He looked at what we were spending on bread each week, and said we might be able to save some money if I made it myself. I mulled the idea around for awhile, then finally decided to jump in and see if it was possible.
One day while I Pinterest, I did a search for homemade bread. There were actually quite a lot of recipes that popped up. I found one from the Oregon Cottage that seemed simple enough. The recipe anticipated using a dough hook in an electric mixer, and it didn’t look like it would take all day rise. We headed to Winco to grab some flour and yeast. I already had some honey, so that was no problem. Armed with the ingredients, I set out to make my first batch of homemade bread.
I had no idea what to expect as I started cooking. The only homemade bread I had ever eaten was Grandma Becker’s homemade bread, but I’d never been around when she baked it. The only thing I knew about baking bread was there was something about letting the dough rise and kneading. The recipe had simple pictures to follow. Still, it was not easy when I didn’t know what I was doing.
I had the yeast/water sit for the 15 minutes to create the sponge, and that seemed to rise pretty well. I was feeling pretty confident as I added the honey, oil, and more flour. And then I turned on the mixer. Flour flew everywhere as I started mixing the dough! Luckily it was just a little bit, so I just let my dough keep kneading in the mixer.
After the dough was done kneading, I didn’t need to use a rolling pin to flatten the dough- just some clean hands and arm strength. Again, I was feeling confident as I made my loafs and set them in the pan to rise – but they didn’t rise. The recipe said to wait until they were about 1 to 1 ½ inches above the rim of the loaf pan. Her’s had taken about 45 minutes. I waited for an hour and half, and it still wasn’t even a half inch above the rim. One seemed to be rising, but the other didn’t. I realized I must have done something wrong, so I went ahead and put them into the oven. Again, faithful to the recipe, I turned the loaf pans when I was supposed to and cooked each pan the amount it said. What emerged was something a lot flatter and darker than I was prepared for. I realized that my dark loaf pans absorbed more heat and had cooked my bread faster than I had anticipated.
I pulled the loaves out and waited for them to cool. They didn’t look what I had expected, but how would they taste? After they had cooled a little, I cut small slice and put some butter on it. The taste was excellent! I felt like I was a little girl again, eating some of the homemade bread that Mom brought home after visiting Grandma. And my children didn’t care how they looked – they just cared about the taste!
Since that first attempt, I have made this recipe several times. I haven’t bought any bread for at least the past two months. I’ve also learned a couple trips that have helped the bread get better with each batch.
- Put the flour in one cup at a time. I started putting the flour in one cup at a time instead of all at once when I use the mixer. Since I’ve done this, the flour has stayed in the bowl and not gone all over the counter.
- Gluten helps bread rise. The recipe had called vital wheat gluten, and I completely ignored that the first time. I have since added the gluten with each batch and have gotten the bread to finally rise!
- Don’t use the top of the stove to have the bread rise. I had tried having the bread sit on the top of the stove. One loaf would rise, the other would not.
- Let the bread rise in the microwave. I actually found this trick in a comment section. Heat a cup of water in your microwave for about 1 ½ minutes, then put your loaf pans in the microwave to rise. This is what has finally given my bread the rise I was looking for on the first batch.
- Darker pans will cook faster. I reduced the time from the 15 minutes to between 10 – 13 minutes per side, and the loaves haven’t come out as dark brown.
- Butter the top before letting it rise. My aunt informed me that buttering the top with a pastry brush will stop the top from getting burnt or too dark. I try to do it before letting the bread rise, that way I’m not pushing down on the loaf.
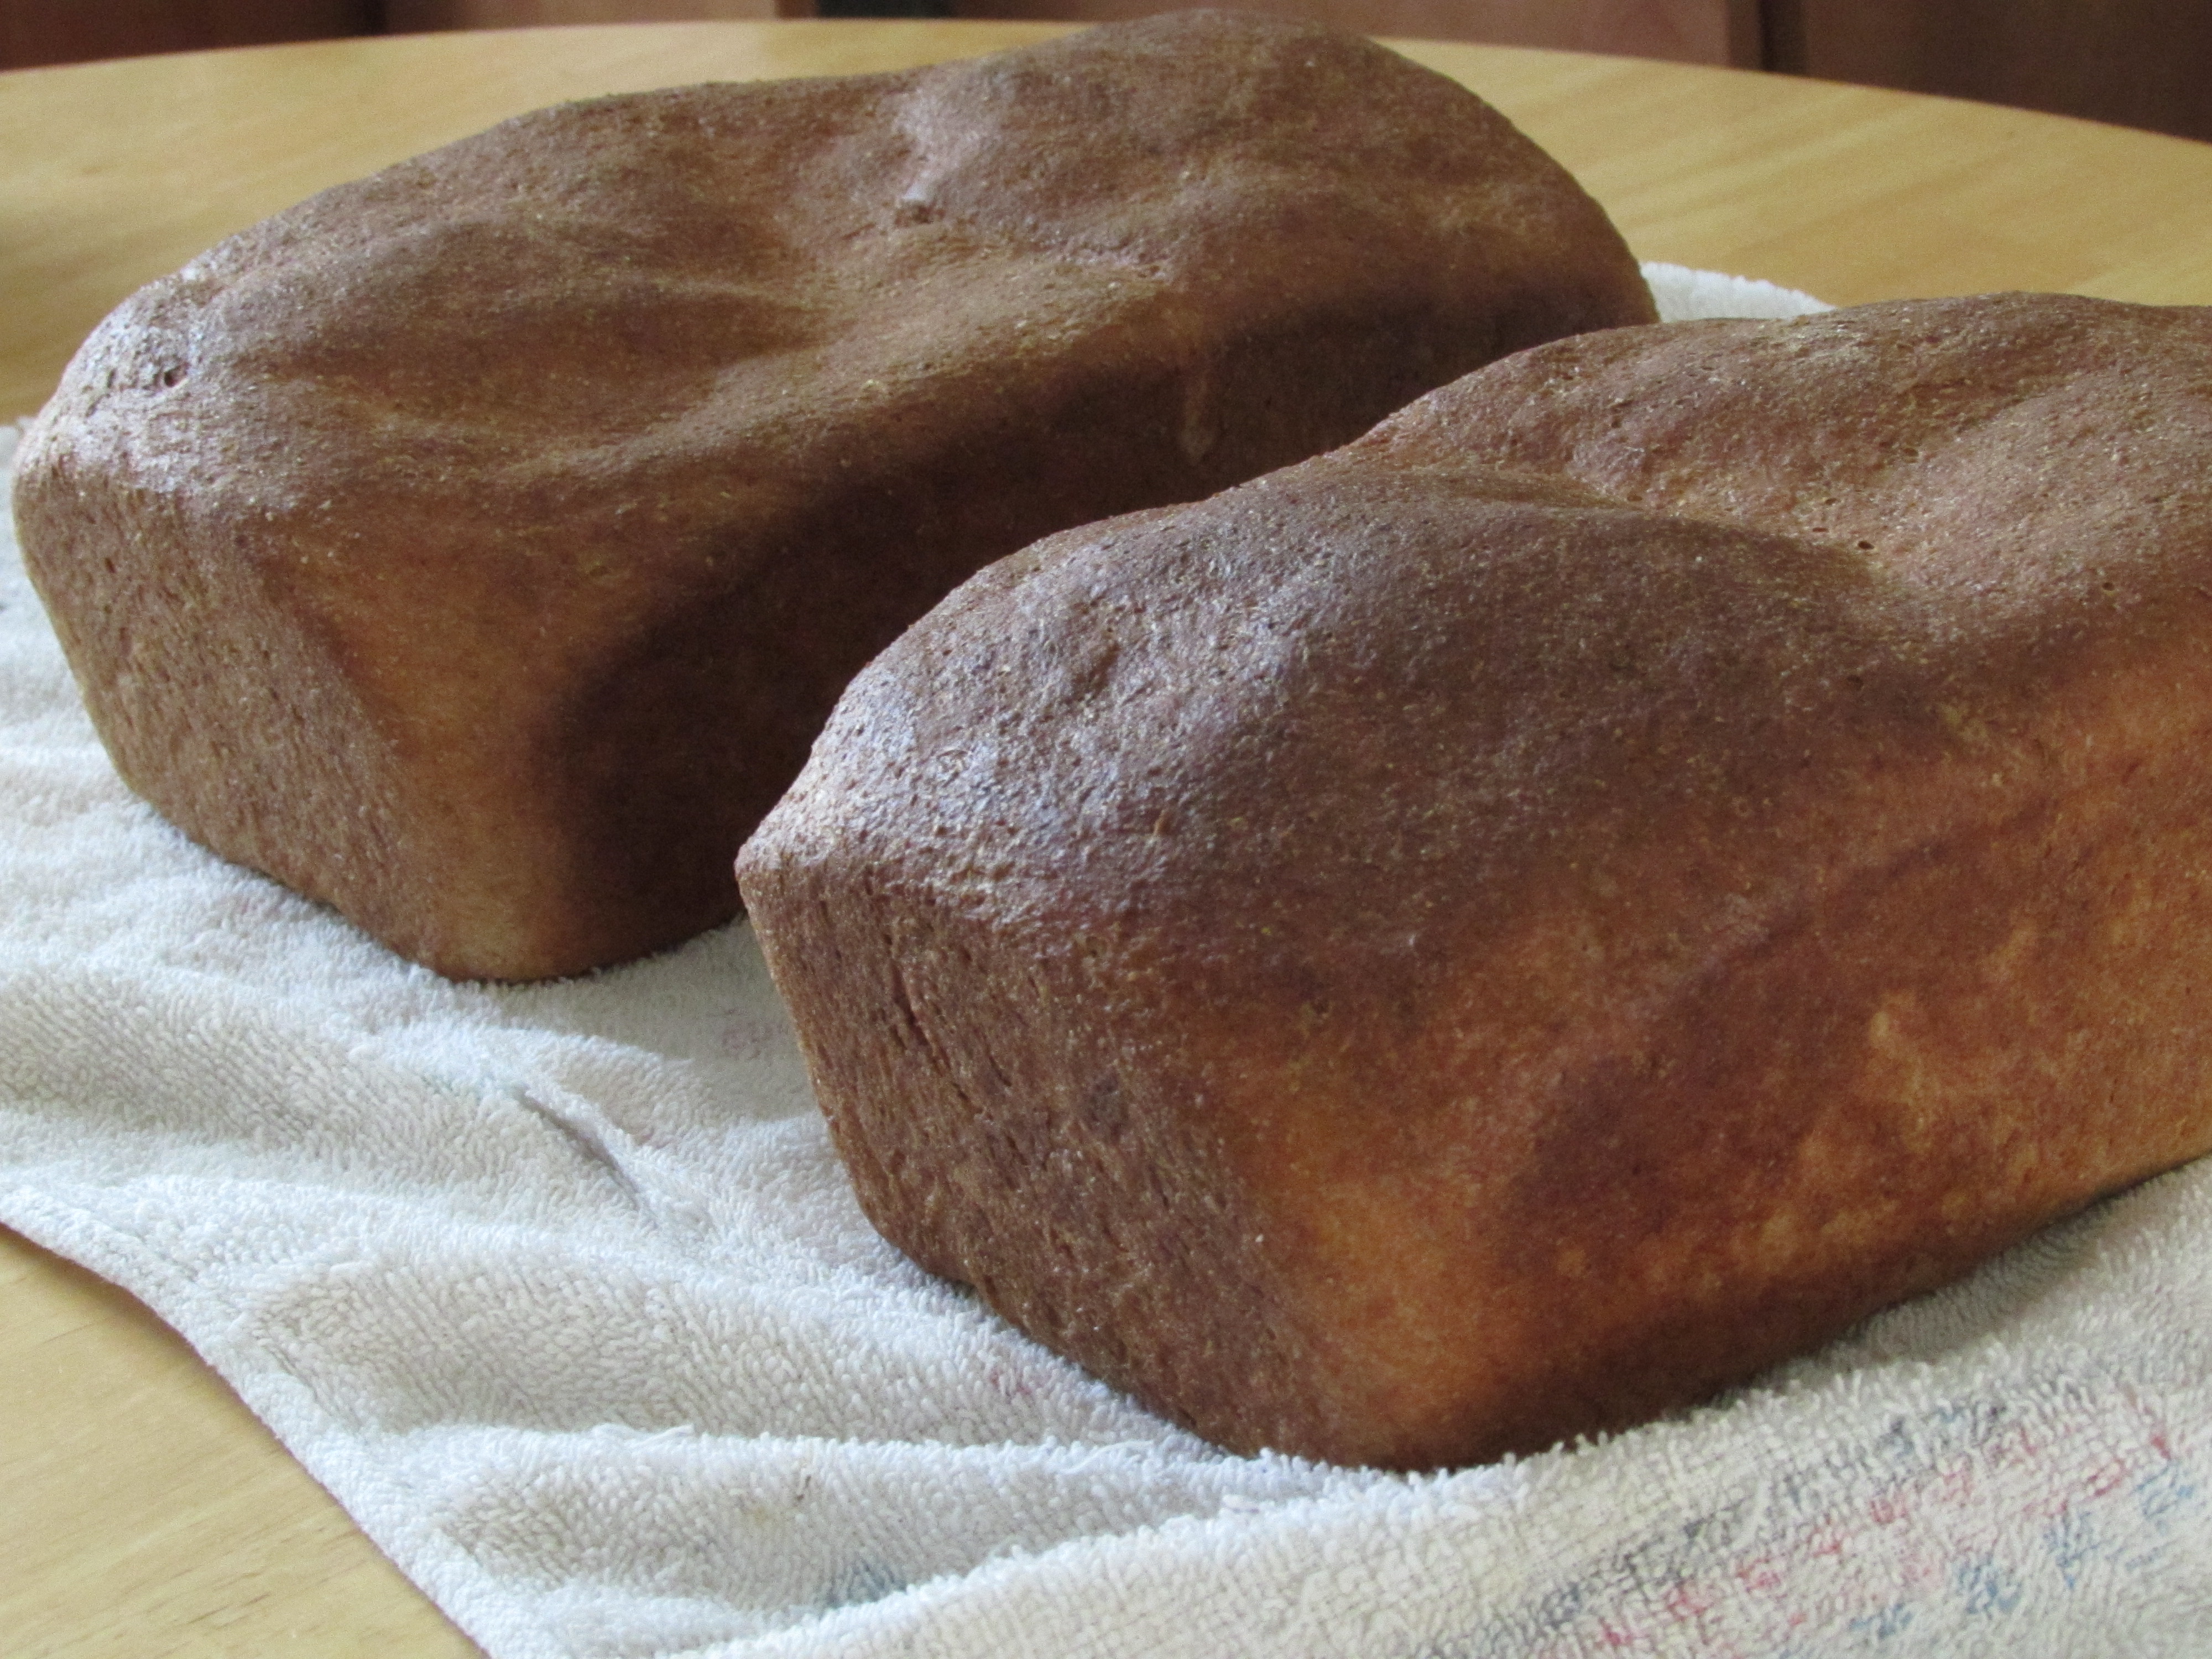
- When the loaves are 1 – 1 ½ inches above the rim, put them in the oven! With all I’ve learned, I’ve finally gotten the rise I want out of my bread. But it sometimes comes a lot quicker than I anticipated, sometimes as soon as a half hour. I’ve found if I still wait 45 – 60 minutes, the bread stays risen, but flattens very quickly once I put it in the oven (as seen above).
I have tried only one other bread – an Irish soda bread that I made for St. Patricks Day. Making bread at home isn’t as bad I thought it would be. If you can clear a couple hours, you can make a nice, homemade loaf of healthy goodness in your very own kitchen! So be adventurous, look for a bread recipe you want to try, and get cookin’!


Leave a comment