Homemade Adventures: Strawberry Jam

After making homemade bread for a couple months, I’ve been bitten by a homemade bug. When my food is homemade, I not only know what the ingredients are, but can save some money as well. I keep thinking of different things that I could make at home. Imagine my delight when a friend shared a post on Facebook for homemade strawberry jam! After looking at the post, I got even more excited when I found out it was sugar free. Then, while flipping through the ads, I saw Sprouts had strawberries on sale for $.98 a pound! All the stars seemed to be aligning for me to try making homemade jam.
I didn’t get to making the jam the first day I thought of it, but was determined to do it the next day. I’d had strawberries go bad quickly, and I didn’t want the 12 pounds of strawberries i had sitting on my table to turn into a waste of money. So, I borrowed a tall stock pot from my mom and got ready go!
However, I learned my first lesson before I even started: be prepared. I looked at the recipe and the pictures, and realized I had no idea what I was going to put them in! This amount of jam wasn’t going to fit into a simple jar I had sitting in the cupboard. After searching online, I realized I would need some mason jars that I knew I could find at Winco. I also took a quick look at my honey supply and quickly realized I had a lot of agave nectar, but not honey! So, the kids and I headed to the store to grab more honey and some mason jars.
I cut up the strawberries and got them cooking in the stockpot with the apples. The recipe called for fresh lemon juice, and thought I would give that a try – except I didn’t have a juicer. However, I remembered that AJ had a toy juicer sitting in her cupboard. I don’t now how many times she’s played with it, but it has been used for real at least once!

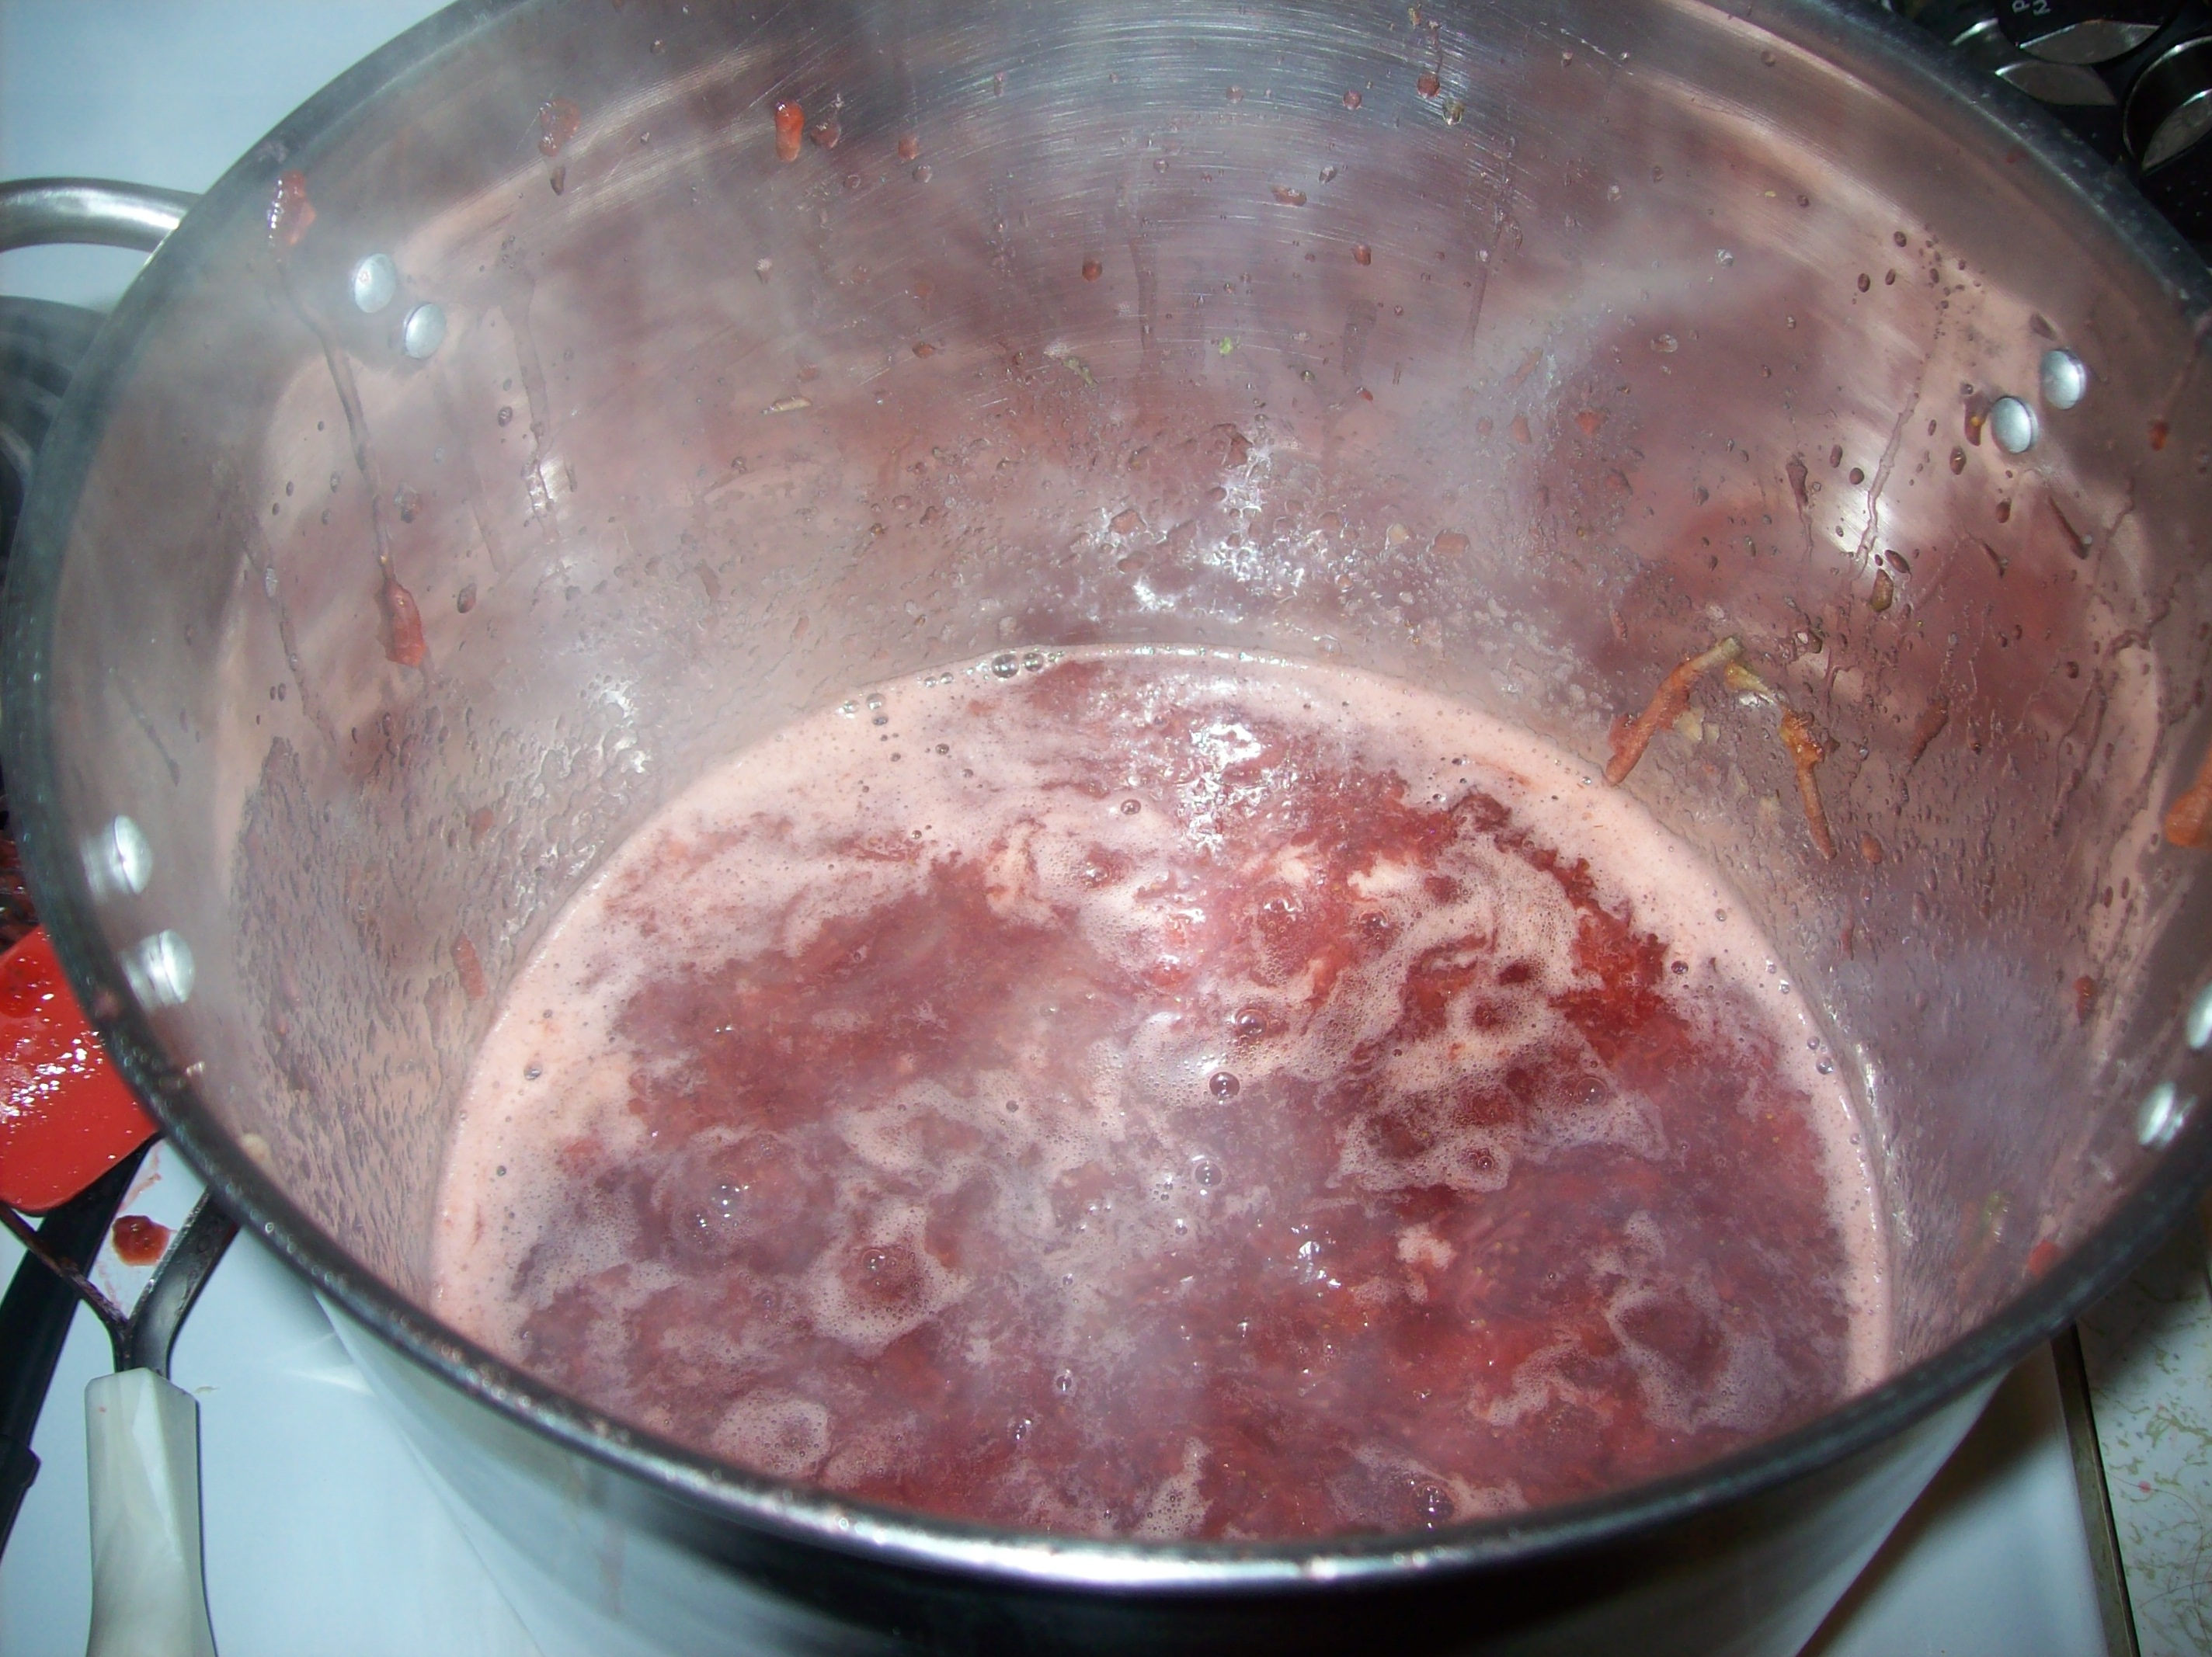
When I was supposed to, I started mashing the strawberries with a potato masher. However, this soon proved difficult when using such a tall stock pot. After what seemed forever, the strawberries were finally mashed to my satisfaction. All that was left to do was let the strawberries simmer. And simmer. And simmer some more. During this time, I kept searching online for tips of canning or making jam to make sure I was doing it right.
After a little while, I realized that this jam was going to be too hot to make homemade peanut butter and jelly sandwiches like I had planned. Also, the recipe said to put the jars in a water bath for 10 minutes. I had NO idea what that was! Did I just spend all this time making jelly that I couldn’t use? So, I called Mom. She quickly calmed my fears by explaining that the jars would self-seal from the heat and I could store in a freezer, so the water bath wasn’t necessary. She also explained that not only could I not use the jam that night, but the jars would have to cool down overnight on the counter. If I put the jars into the freezer right away, there was a good chance they could break and/or shatter. I decided to listen to my mom and not chance broken jars. Soon, I had eight jars full of strawberry jam cooling on my counter.
We tried the jam the next day, and I thought it was delicious! Some of my friends and family have tried the jam and have mixed feelings. Some love it – such as Josh who will eat it by the spoonful. Others aren’t too fond of it. But everyone has their own taste buds! It isn’t as thick as the store bought jam that I am used to, but it still works for making REAL homemade peanut butter and jelly sandwiches – as in homemade bread, homemade peanut butter, and homemade jam. We now have enough jam in the freezer to last us for at least the summer, if not the rest of the year.
I could have saved a lot of time and frustration if I had called Mom in the first place instead of relying on the internet for everything. She had also suggested putting the strawberries in a blender instead of mashing them with the potato masher, which could have given me a better consistency. I would have known about the jars, the sealing, etc. and could have had something else for dinner while cooking the jam. I’ve contacted a few experienced canners and will be taking some “lessons” this summer so I’m more familiar the process. I then plan to start making more healthy food and preserving it to use year round.
I did have to make one more call to Mom when I was finished. My question: How do you remove burnt food from the bottom of a stock pot?


Leave a comment