Eating Well Waffles
Today I faced that usual problem many moms face – what are we cooking for dinner? It was too late to throw something in the Crock Pot. I didn’t have any tomato soup. I was going to settle with making some pancakes from a mix I had in the pantry, then I thought I would check for some saved recipes at eatingwell.com (I’ve found tons of good recipes on this site). I looked at some of the recipes I had saved, and one was for Eating Well Waffles. Lucky for me, I had all the ingredients! It seemed simple enough that I could involve the kids, so I pulled up the recipe about 4:45 and started cooking.
The ingredients I used:
- 1 cup whole-wheat flour
- 1 cup all-purpose flour
- 1 1/2 teaspoons baking powder
- 1/2 teaspoon salt
- 1/4 teaspoon baking soda
- 2 cups “sour milk”
- 1 large egg, separated
- 1 tablespoon canola oil
- 1 tablespoon vanilla extract
- 2 large egg whites
- 2 tablespoons sugar
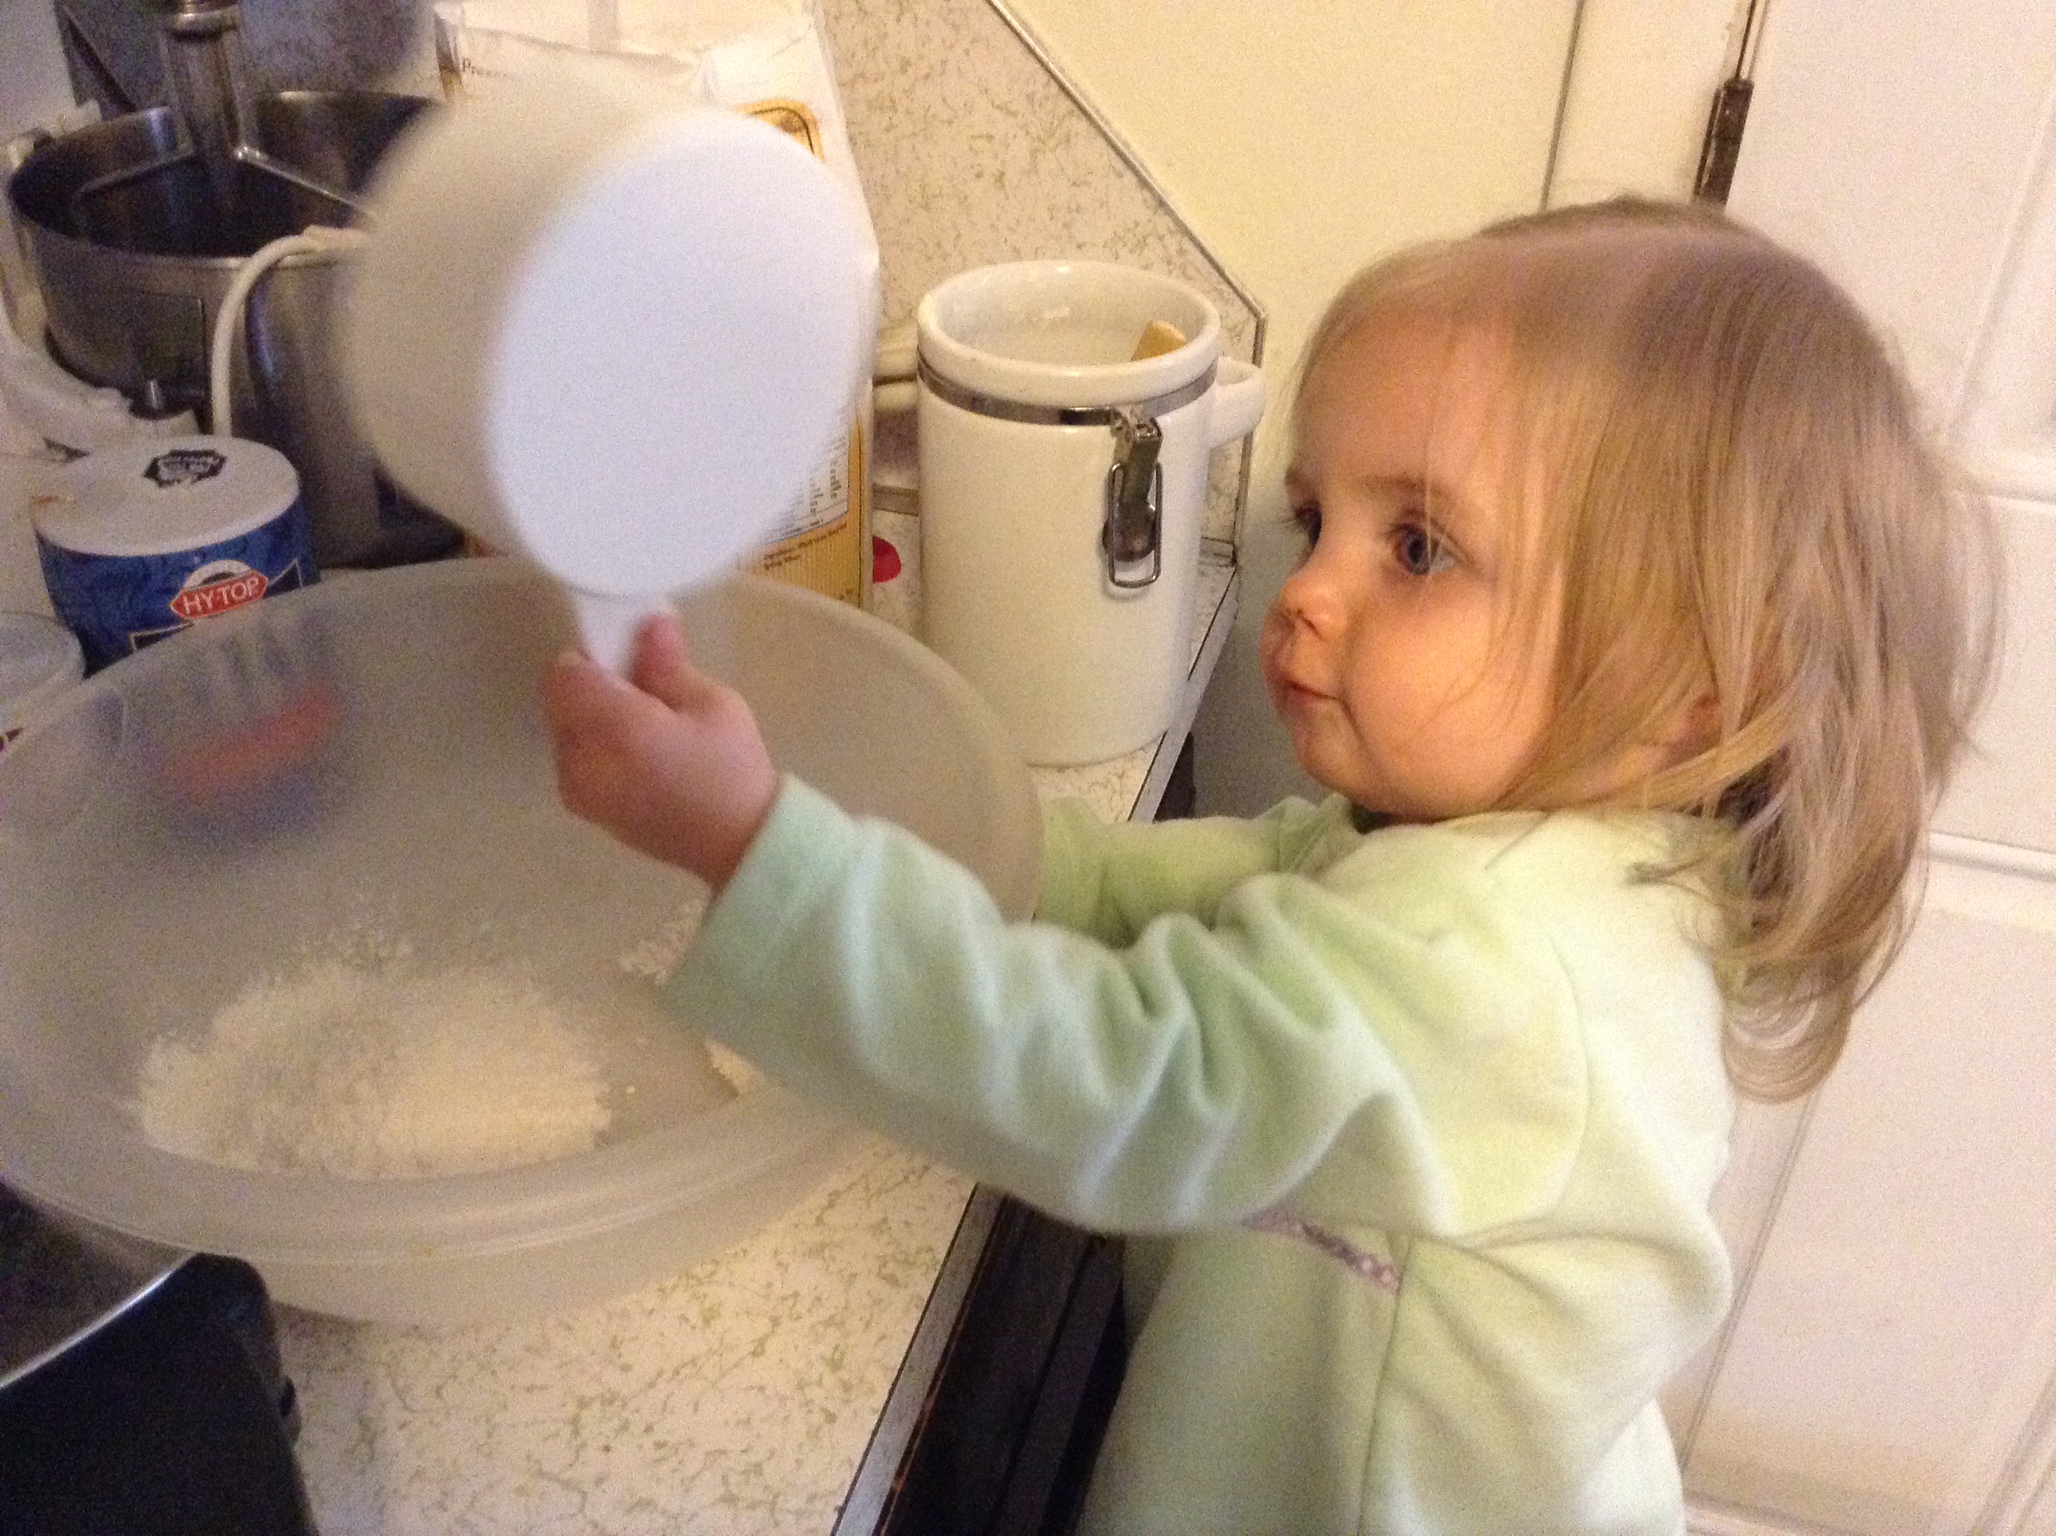
AJ helped out a lot with the first step: take all the dry ingredients and mix together in a large bowl. When I include the kids, I usually measure out the ingredient and have them “help” me put in the bowl.
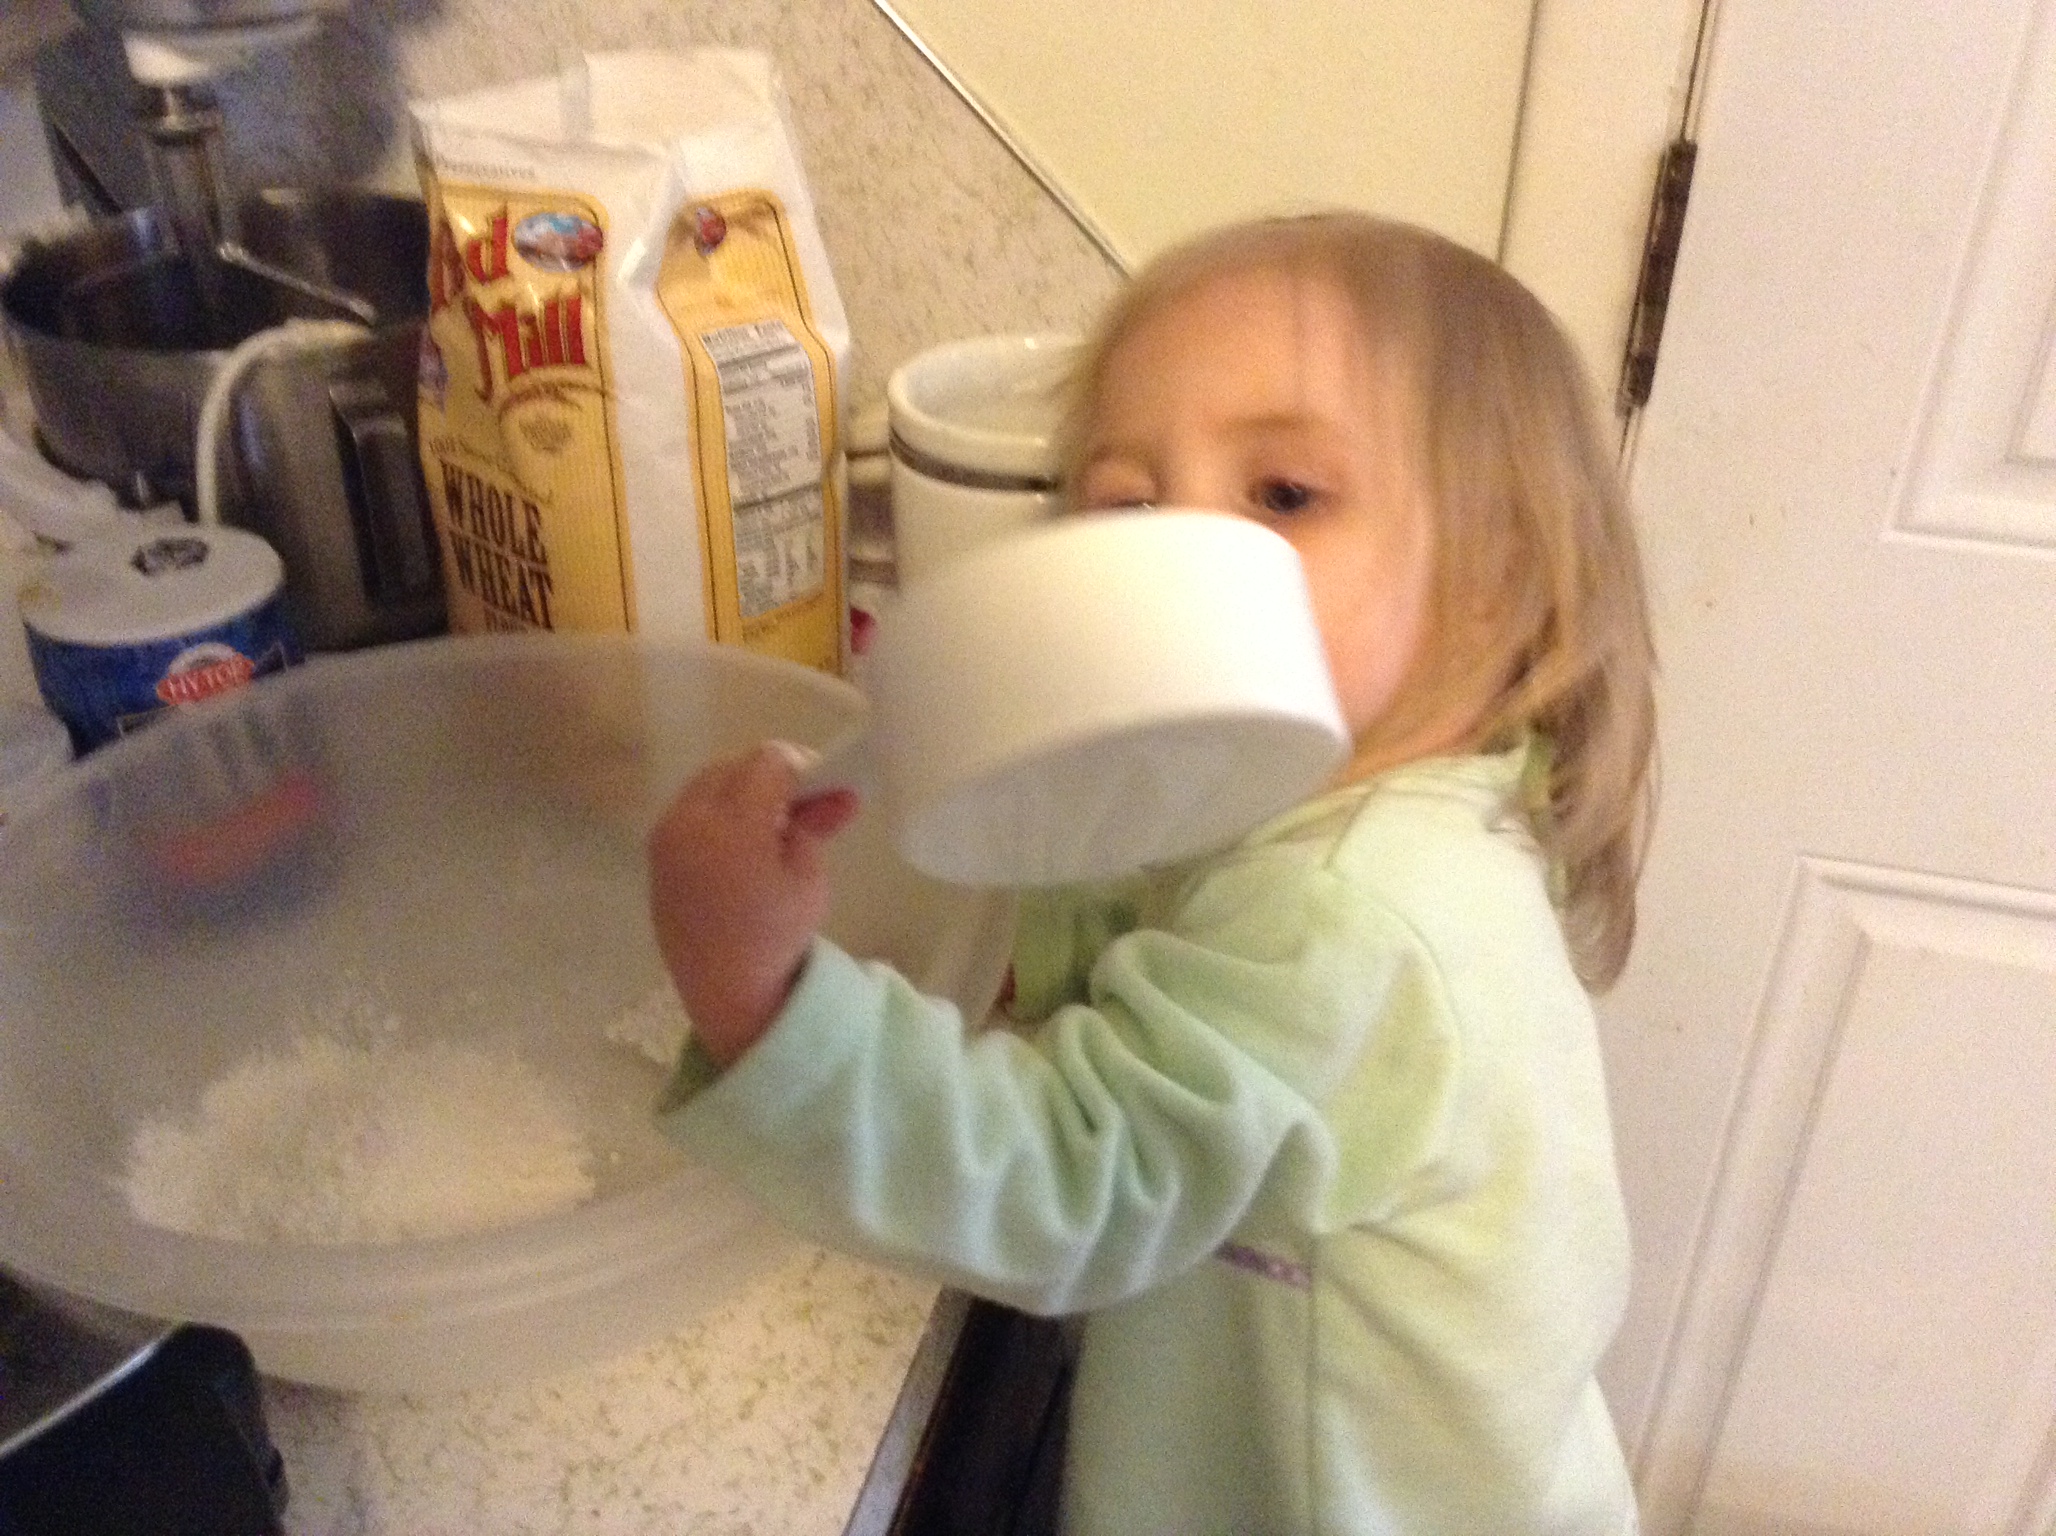
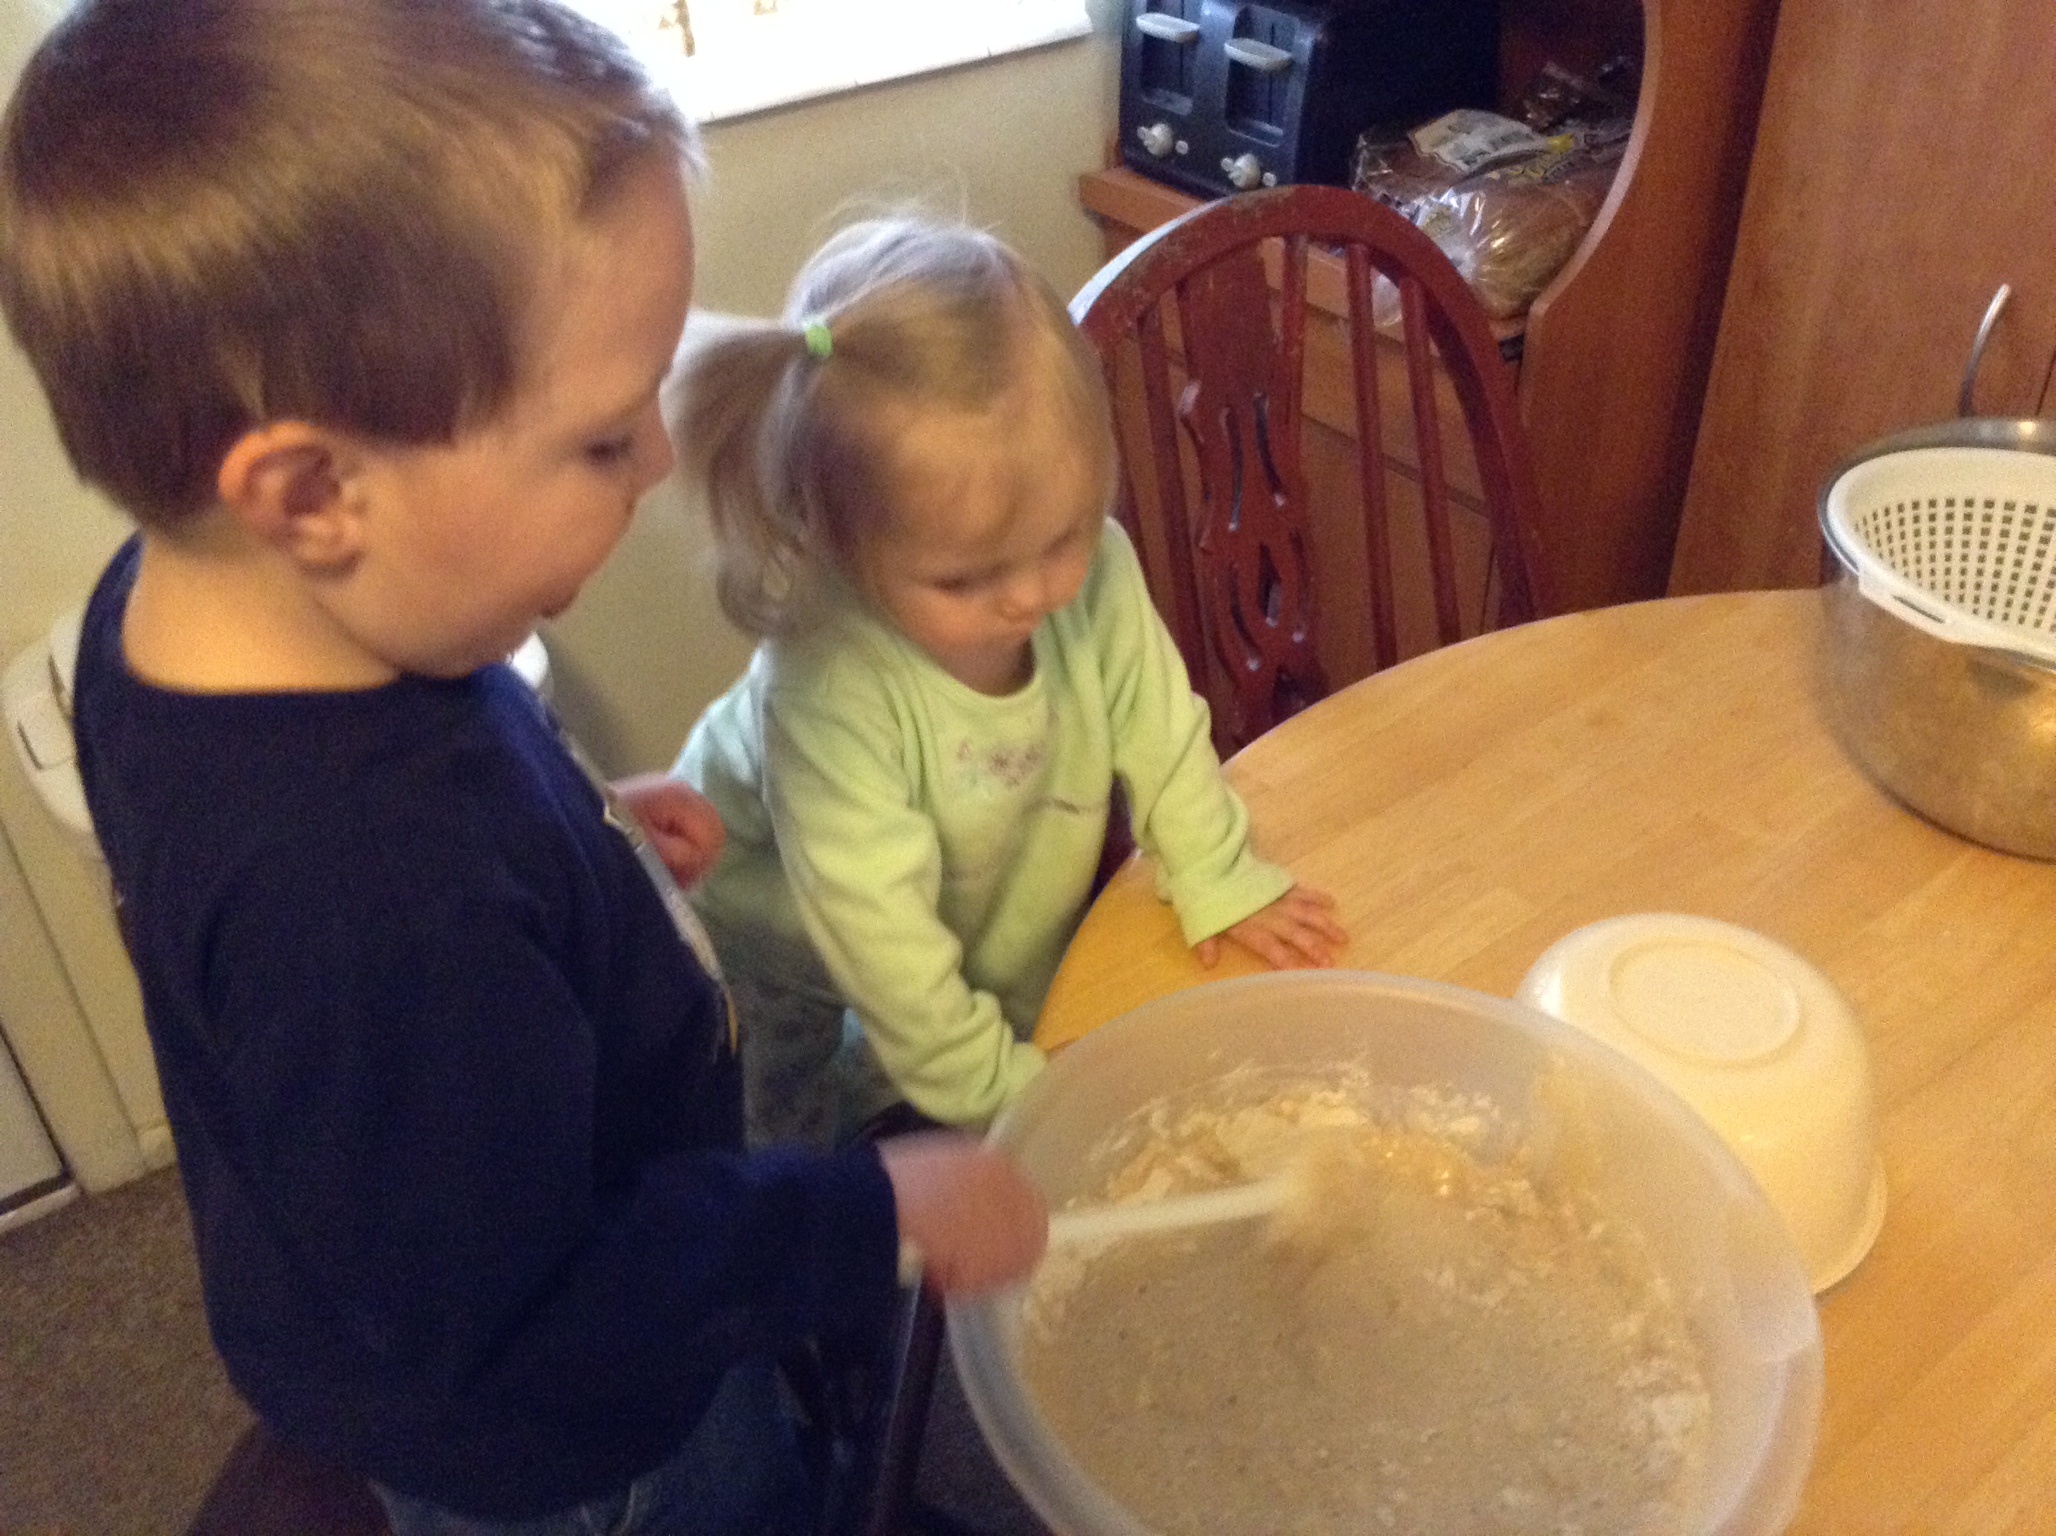
The original recipe calls for non-fat buttermilk, but I didn’t have any. So I just took 2 tbsp of lemon juice and combined it with two cups of skim milk. That’s what PJ is helping me with below.
If you don’t need to make sour milk, the next step is separating an egg. How I do this is crack the egg slowly in the middle until you can pull it apart and have pieces. I then transfer the yolk back and forth between the two pieces until all the egg whites have fallen into the bowl and only the yolk is left in the shell.
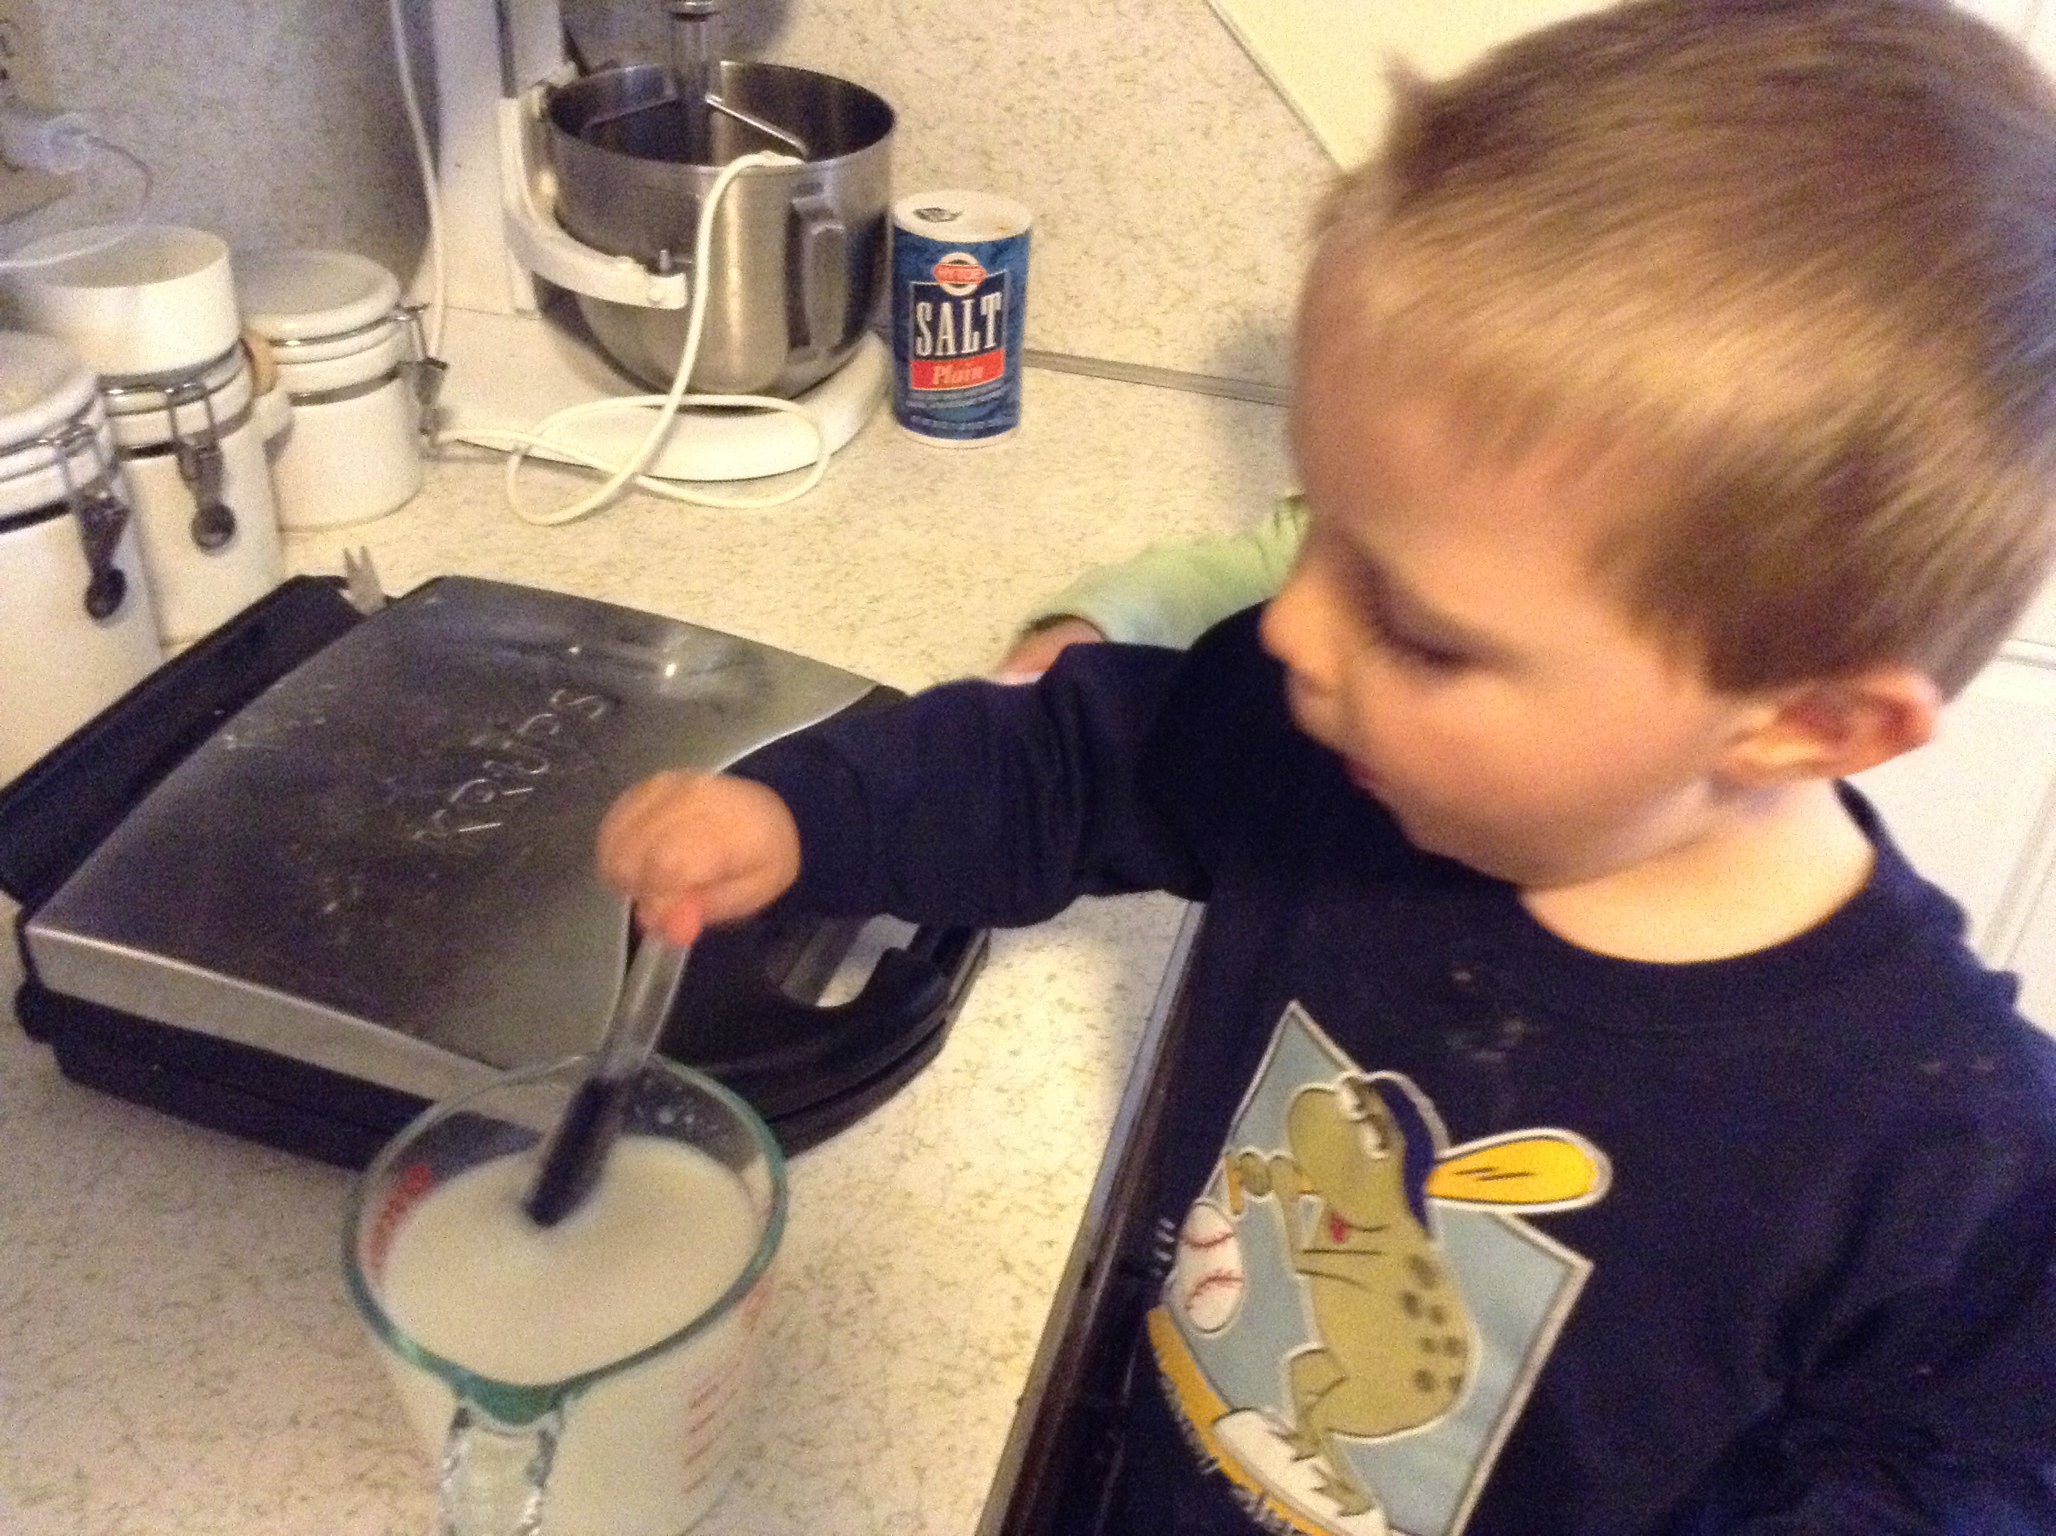
After separating the yolk from the egg whites, we put the yolk in another bowl with the milk, oil, and vanilla. (The recipe says the vanilla extract is optional, but I like the extra sweetness it gives). AJ then helped me whisk it all together, and PJ helped me combine the wet and dry ingredients.

I was then supposed to beat the eggs with an electric mixer until there were “soft peaks”. I started mixing and never saw any “peaks” – I just mixed until it was frothy. After combining the egg whites with the sugar, I mixed them together until it seemed a little more solid. Everything was then combined together and ready to put on the waffle iron.
My problem: I’d never used a waffle iron! Oh, I’ve had waffles before, but have never cooked them. It seemed simple enough: spray the iron with some cooking spray and put some batter in, and shut the lid.
I went to check the waffles after five minutes and noticed a problem: they stuck. I had some of the waffle on the top of the iron, and some on the bottom. I don’t know if I didn’t use enough cooking spray, if I put it on too early, or what, but my waffles did not look pretty. It took a good five minutes to cut away at the waffles and pull them off (I didn’t want to break them any more than they were already). These were set aside to eat.
I had enough batter left to make one more batch, and I did not want to mess it up. The first thing I did was google “how to remove waffles from waffle iron”. I know that sounds stupid, but remember – I’ve never used a waffle iron before! Imagine my delight when I realized they are supposed to cook in such a way you can just lift them up! I also did a google search for how to make the waffles not stick. I found some suggestions about brushing the iron with oil instead of using cooking spray. I don’t have a brush (it’s on my shopping list), so I just dipped some oil on a clean dishrag and used it to spread the oil around the iron. I then put the rest of the batter in the iron and shut the lid. Five minutes later, I had some beautiful waffles that came out like a charm.

The left is the first batch. The right is the batch I got right!
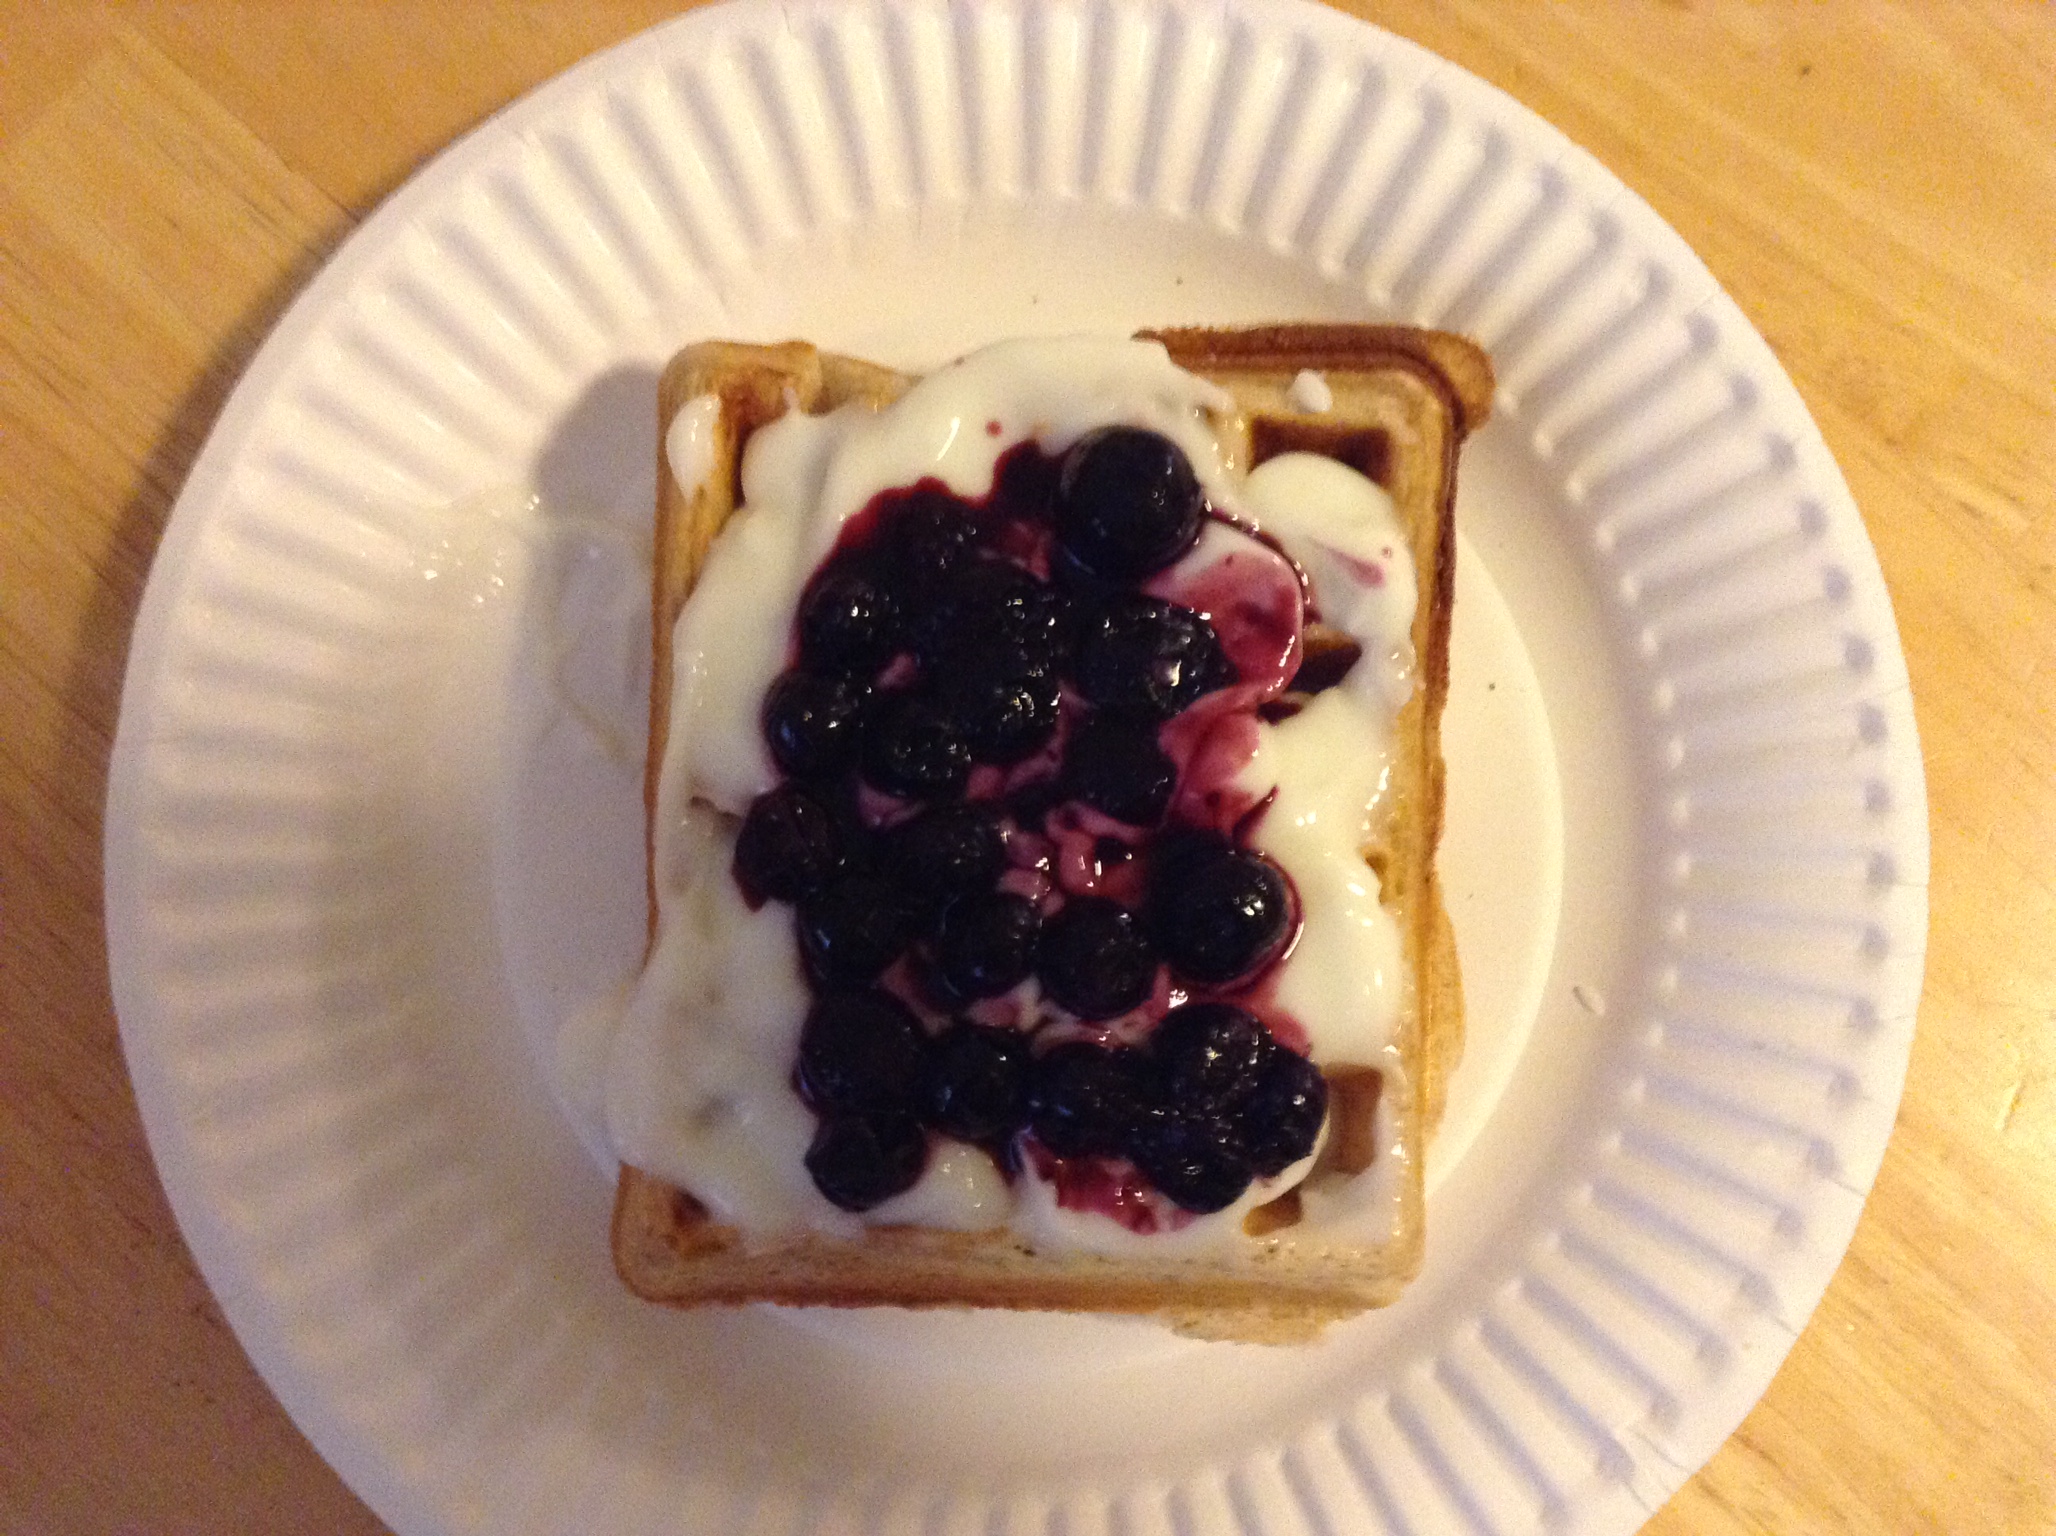
After we all sat down to eat at 6:30 (remember, I have a small kitchen!), it was time to do the toppings. I didn’t want to just put some jam or syrup on these since these are “healthy” waffles. So we put some low-fat vanilla yogurt on and topped it off with blueberries.

Result: these were delicious! They were fluffy and tasted oh so good! The blueberries and yogurt helped make them even a little more moist and added and extra sweetness to them. The kids liked as well, though PJ was more interested in the blueberries. This is definitely a recipe that we will be repeating, though I think next time we will do it for breakfast.


Leave a comment